Eyre Peninsula, South Australia

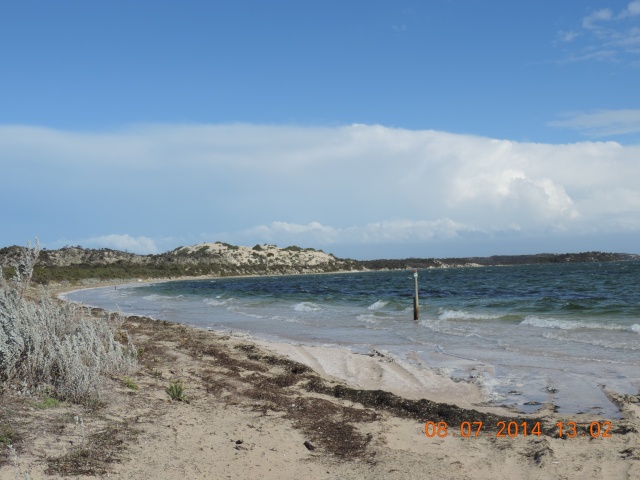
Heya, so I know that I haven’t posted in a while but I’m looking forward to writing this post! So for the past two weeks my family and I travelled to the Eyre Peninsula which is located in the pointy bit of South Aus. It was so much fun and we did so many amazing things. First of all we made our way to Arno Bay, it’s a small fishing town with a lot of surprises! I thought that it would be a really small isolated town that had nothing to do but I was apparently wrong, it was a small town, yes, but there where so many walks and trails to do, the beach was amazing, white sand and clear blue water, it was defferently not what I expected. image

image

image
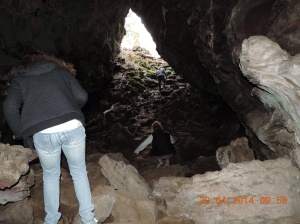
Next we headed to Port Lincoln. I have visited Port Lincoln last year around this time and it has not changed one bit. We happened to be there when a massive storm front came. It was cold, it was wet and it was differently windy but we all still managed to have a great time! We visited Port Lincoln National Park which was nice, there were many things to see and we only had one day so we couldn’t see it all.image

image

image

image

image

image

image
We went to Coffin Bay for the day to have a look around, it surprised me how green the water look, it was a nice looking green as well. image

image
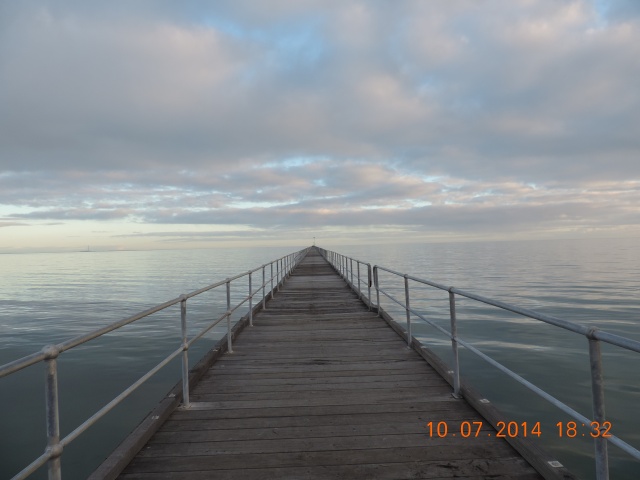
Our final stop was at Port Germain, which has the longest pier that I have ever seen. It’s 1.5km long and yes I had to walk it! We ended up riding our bikes down it as it was just so much easier that way!
image

image

image

image

image

image
It was a really good trip and I would recommend going!ending

14 going on 15…

Heya,
So I haven’t posted in like two weeks and I’m very sorry but I have been really busy with studying and planning. I recently turned 15 (Tuesday the 13th to be exact!) and I had a get-to-gather with my friends. It was so much fun and I’m really thankful for everyone coming and having a great time and the little pressies I got!
image
As you can see we were roughing it!! Lolly bar and outdoor cinema with beanbags, a tent and a BONFIRE!
image
image
image
I’m the one in the middle with the cream knit and black jeans on!
image
ending

Great Ocean Road

Heya,
I’m sorry I haven’t posted anything in a while but I have been away and there has been no internet so I have a good excuse! I thought that now that I’m back I would share with you what happened when I was away. We decided to go and take a long awaited trip down the Great Ocean Road, it was so good to see it again and see how much it has grown and changed! It was so much fun though and I would HIGHLY recommend it! The only thing that I was disappointed about was the fact that the swell was narly and I didn’t bring a wetty (wetsuit) and a board (surfboard)!!
We first stopped out at Mt. Eccals, which is a beautiful national park.
image image image image
Then we went our way down to Port Fairy, which is near Wornambool. It was a small town but there where heaps of different things to do.
image image
After all of that we started our way along the Great Ocean Road! There were so many natural beauty’s to see along the way and then we headed for Lorne, Anglesea and Torquay!
image image image image image image image
It was differently a lot of fun and I would go again! I will also be posting another entry some time this week to make up for the entry I was meant to make last week.
ending

Washi Tape Pencil

image
Heya,
So I only just recently discovered ~Washi Tape~ (greatness in a roll!) and its amazing not only does it look great but you can do so many designs and CRAFTY things with it! So as I was scrolling through Pinterest today looking for different things to do with Washi tape, I came across this account that was all about washi tape and the things you can use it for, there where just so many ideas pooping into my head and then I saw that she covered pens in washi tape so I thought you could do the same to a pencil and it doesn’t take that long to make and turns out looking awesome. So enough blabbering here’s how to make a Washi Tape Pencil!
image
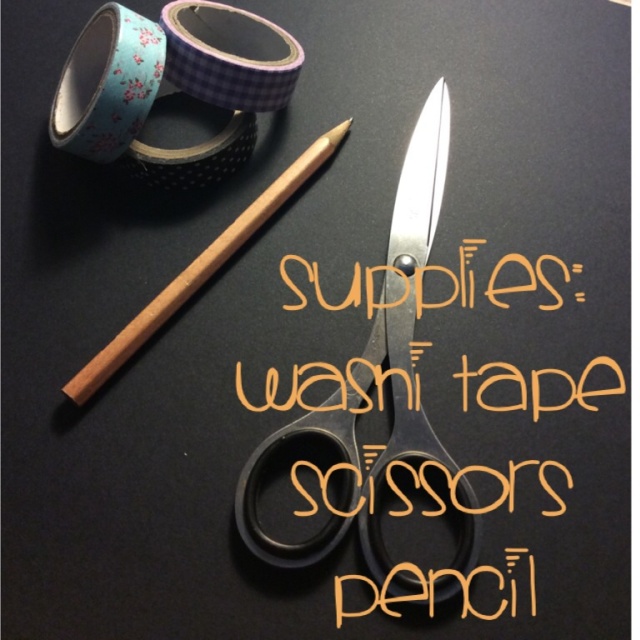
You are going to need:
– A pencil
– Washi tape
– Scissors
image
1: First of all you are going to need to cut the washi tape to the size of the pencil. Lay the pencil down on one side and place the tape on top, you will now have to push the tape down and it should fit perfectly on three of the six sides of the pencil.
image
2: Repeat step 1 on the other side of the pencil.
image
3: Lastly, run your finger over the exposed edges of the tape and hold them down firmly so they don’t become unstuck.
There you have it DIY Washi Tape Pencils! I hope that your pencils turn out well and don’t be afraid to use more than 1 colour, try use 2 or 3 maybe even 4, but try not to make the area feel cramped use colours that work together and are simple.
ending

Photo Wall

image

Heya,
Im super pumped to show you guys some of the stuff I get up to and I have an over healthy addiction to Photo Walls or Photo Chains! They are hanging everywhere in my room, I practically live in a photo album! So I thought that maybe you guys would like to learn how to make them!

image
Supplies:
So what you are going to need to make these photo chains is:
– A trusty glue stick
– Scissors
– A pen or pencil
– Photo paper ( if you don’t have any photo paper you can use normal printing paper, it will turn out the same. You can also use Polaroid shots that you already have.)
– Images

image
1:
First of all you are going to need to chose what images you want to use. Once you have chosen what photo’s you are going to work with cut them out and stick them onto white card, photo paper or white printer paper so that it give the effect that it is a Polaroid photo. If you own a Polaroid camera (wish I did) you can just us photo’s that you have taken.

image
2:
Next trace/draw what words you would like to appear on your wall, cut them out and paste them down. I have used white paper as the book that I’m using is black so the white stands out but you can use an colour really, depending on what look you are going for!

image
3:
Lastly, arrange the photo’s on the page to where they look best! Stick them down and you are now complete! You can also cut some string to fit the amount of photo’s that you have and place them in a line along the string and use pegs to hold them in place!image

I hope you enjoy making this as much as I did!
ending

Welcome

Heya Everyone and welcome to Two Left Feet! I’m so excited to have started up this blog. I have been meaning to start a blog up for a long time and I finally have! This blog is going to be totally natural, all pure. I will be posting different crafts, music updates, different OOTD’s, simple stylings and anything else that tickles my fancy! I hope you enjoy reading. Happy blogging!

ending